A comprehensive guide to Microsoft Dynamics 365 Sales and Customer Service.
What are the Different CRM Products and How Do They Differ?
Dynamics 365 Sales
Designed for sales teams to manage the entire sales lifecycle. It helps teams track leads, manage opportunities, forecast revenue, and close deals. Perfect for real estate agents managing property listings and sales pipelines.
Best for: Sales teams, lead management, pipeline forecasting, deal tracking
Dynamics 365 Customer Service
Focused on customer support and service delivery. It enables teams to manage customer inquiries, track cases, maintain knowledge bases, and provide omni-channel support. Ideal for property management inquiries and after-sales service.
Best for: Support teams, case management, service delivery, customer inquiries
Key difference: Sales focuses on acquiring customers and closing deals, while Customer Service focuses on supporting customers throughout their journey and managing inquiries. For a comprehensive CRM, both modules work together seamlessly.
What are the Specific Features of Each Product License?
Each product (Sales and Customer Service) is available in two licensing tiers: Professional and Enterprise. The tier you choose determines which features are available to your team.
Dynamics 365 Sales
Professional:
- Lead and opportunity management
- Account and contact records
- Product catalog and price lists
- Quote and order management
- Basic forecasting
- Outlook and Teams integration
- Mobile app access
- Standard analytics and reports
Enterprise (All Professional features, plus):
- Advanced forecasting and revenue analytics
- Territory management
- Goal management and tracking
- Enhanced customization (custom tables and processes)
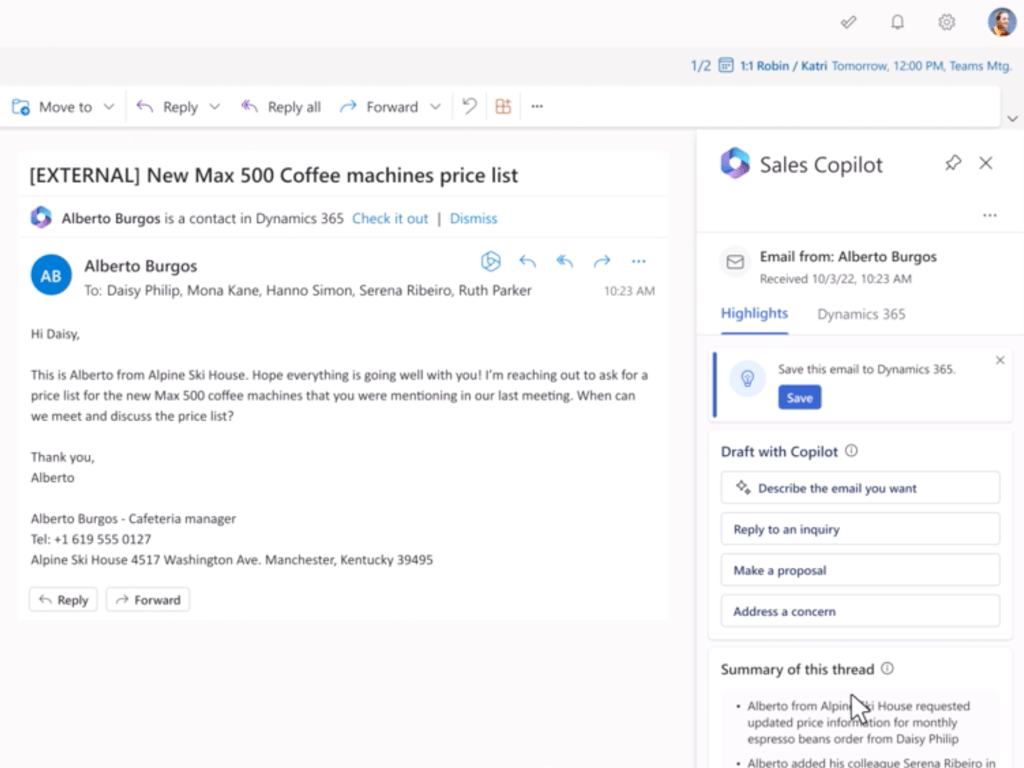
- AI-powered insights (Copilot, predictive scoring)
- Advanced workflow automation
- Broader Dataverse storage entitlements
- Advanced reporting and analytics
Dynamics 365 Customer Service
Professional:
- Case and ticket management
- Customer knowledge base
- Basic queue management
- Self-service portal capabilities
- Email and chat integration
- Mobile case management
- Standard analytics for agents
- Basic SLA tracking
Enterprise (All Professional features, plus):
- Intelligent routing and skills-based assignment
- Advanced SLA management
- Resource scheduling and optimization
- Omni-channel support unified across channels
- Advanced automation (Power Automate integration)
- Deeper analytics and dashboards
- AI-powered insights and recommendations
- Integration with other Dynamics 365 apps
Integration and Productivity Tools (All Tiers):
- Outlook Integration – Track emails, appointments, and tasks directly in Dynamics 365
- Teams Integration – Access records and take actions without leaving Teams
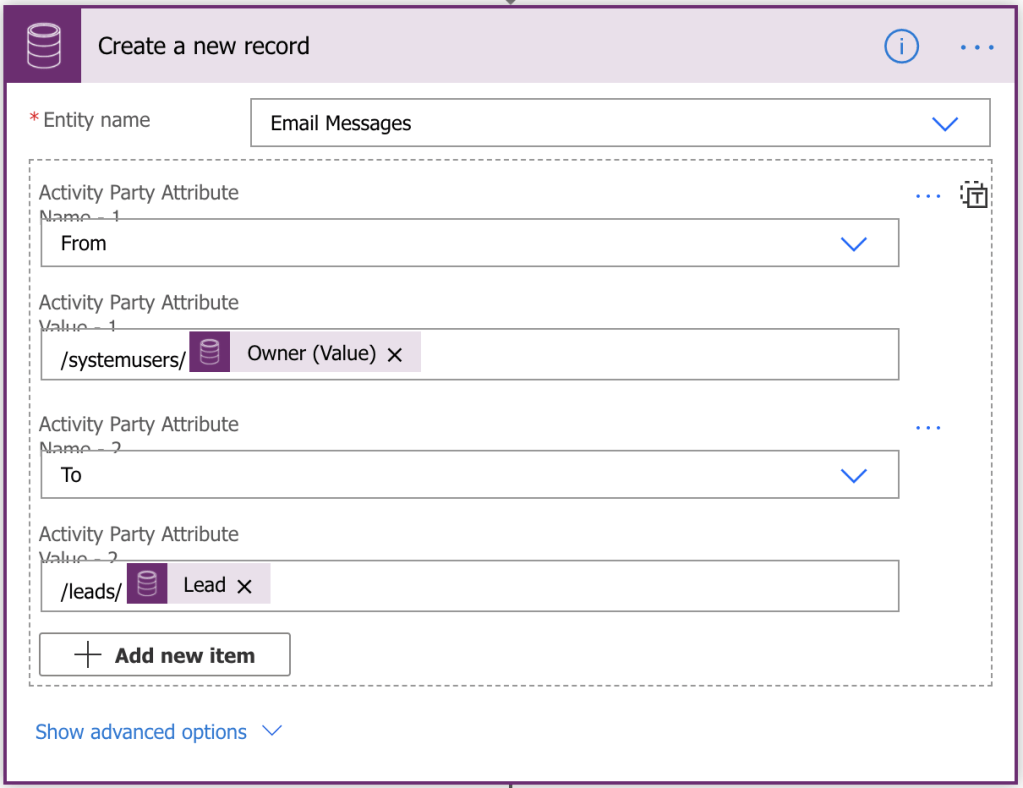
- Power Automate – Automate workflows, notifications, and task creation
- Power BI – Create custom analytics and dashboards (Enterprise tiers enhanced)
- Mobile Apps – Full access to records and functionality on smartphones and tablets
- Portal Capabilities – Allow customers to self-serve without direct agent contact
How is Pricing Structured?
Microsoft Dynamics 365 uses a per-user, per-month subscription model. This means you pay for each named user who needs access, and billing is based on the license tier they use. There are no fixed-price options from Microsoft, though implementation services are billed separately.
Current Pricing Structure (indicative USD monthly rates for 2025):
User License Costs (Monthly per User):
- Sales Professional: $65/user/month
- Sales Enterprise: $95/user/month
- Customer Service Professional: $50/user/month
- Customer Service Enterprise: $95-105/user/month
Example: 20-25 User Organization
For a small-to-medium organization with 20-25 total users across Sales and Customer Service, a typical mix might look like:
- Sales Professional (15 users): $65 × 15 = $975/month
- Sales Enterprise (3 users): $95 × 3 = $285/month
- Service Professional (5 users): $50 × 5 = $250/month
- Service Enterprise (2 users): $100 × 2 = $200/month
Total Monthly Subscription Cost: $1,710
Implementation Services (Separate from Licensing)
In addition to monthly user licenses, implementation and consulting services are billed separately. Stirna Consulting offers implementation, configuration, training, and support at €105/hour for CRM consulting, configuration, implementation, and training.
Key Pricing Points:
- Per-User Billing: You only pay for users who need access
- Flexible Mix: Combine Professional and Enterprise licenses as needed
- Scalability: Add or remove users as your team grows or changes
- Discounts Available: Microsoft often provides discounts for multi-year commitments or bulk licensing
- No Lock-in: Monthly billing with flexibility to adjust at renewal
- Implementation Separate: Consulting and setup costs are additional and customized to your scope
Comparing Models:
Unlike some CRM systems with fixed-price plans, Dynamics 365’s per-user model means:
- Transparent: You know exactly what you’re paying for
- Scalable: Grow your system without major price jumps
- Flexible: Pay only for the users and features you need
- Enterprise-Grade: Access to Microsoft’s full support and updates
Ready to Implement Dynamics 365 for Your Organization?
Stirna Consulting specializes in designing lean, real estate-focused CRM implementations. We can help you assess fit, plan your phased rollout, and train your team—all at a fixed rate of €105/hour.
Contact us at contact@stirna.is for a free consultation on Dynamics 365 CRM implementation.