Task: Create an app that allows employees to order food at the office canteen
Difficulty level: intermediate
Time to implement: 2-3 hours
In this post, I will show you how to create an app that allows your employees to order food at the office canteen. Many offices order food from catering services. The catering service may or may not have an interface for employees to register or order food. In some occasions, the administrative staff has to collect the food orders and send it to the catering company. To make this process more efficient we will give our employees access to the app and allow them to choose between a couple of menus for a given week.
By finishing the following steps, you will have a basic understanding how to create a Power App and can start to build your own custom apps tailored to your company’s needs.
Table of contents
Tools used for the app
1. Creating the app
2. Customize the app
3. Publish the app
4. Share the app
→ Watch video
→ Other online resources
(Update: You can also download the app from the Power Apps Community site (external link) and import it into your environment.)
Tools used for the app
- Canvas apps
- Common data service
1. Creating the app
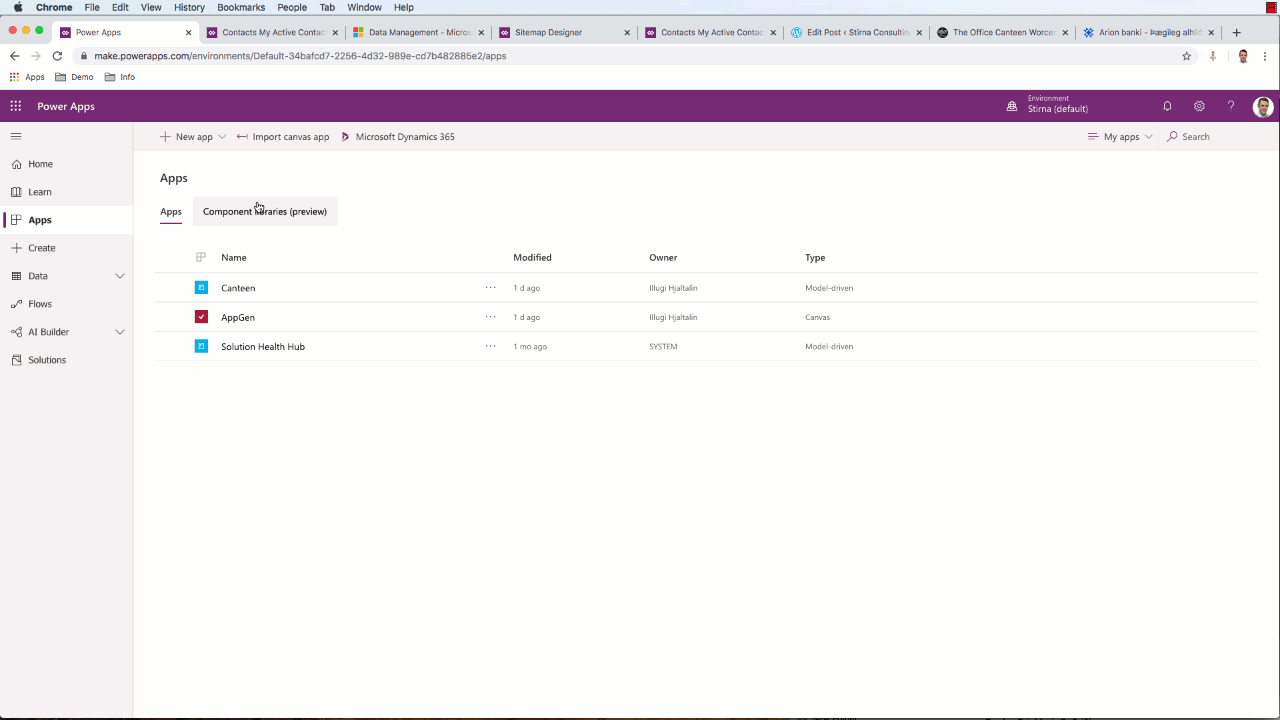
- Go to make.powerapps.com → Apps.
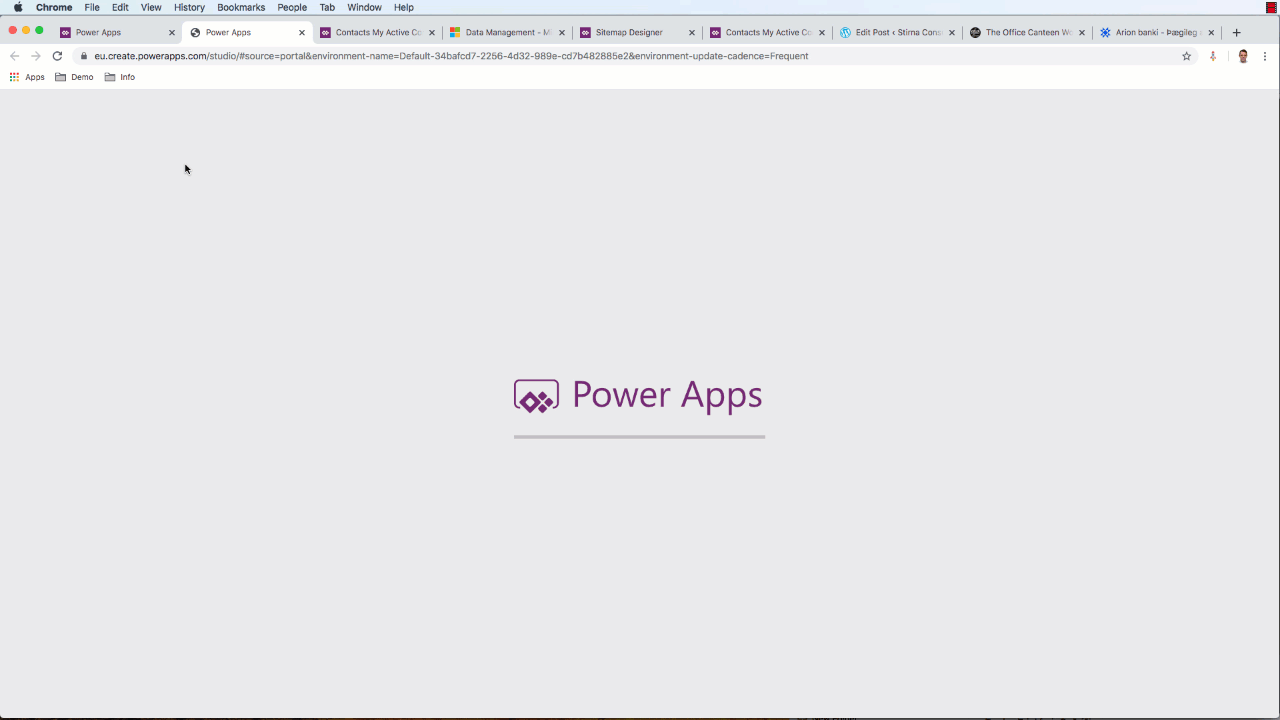
- Click New app → Canvas. This will take you to the create.powerapps.com where you will create your app.
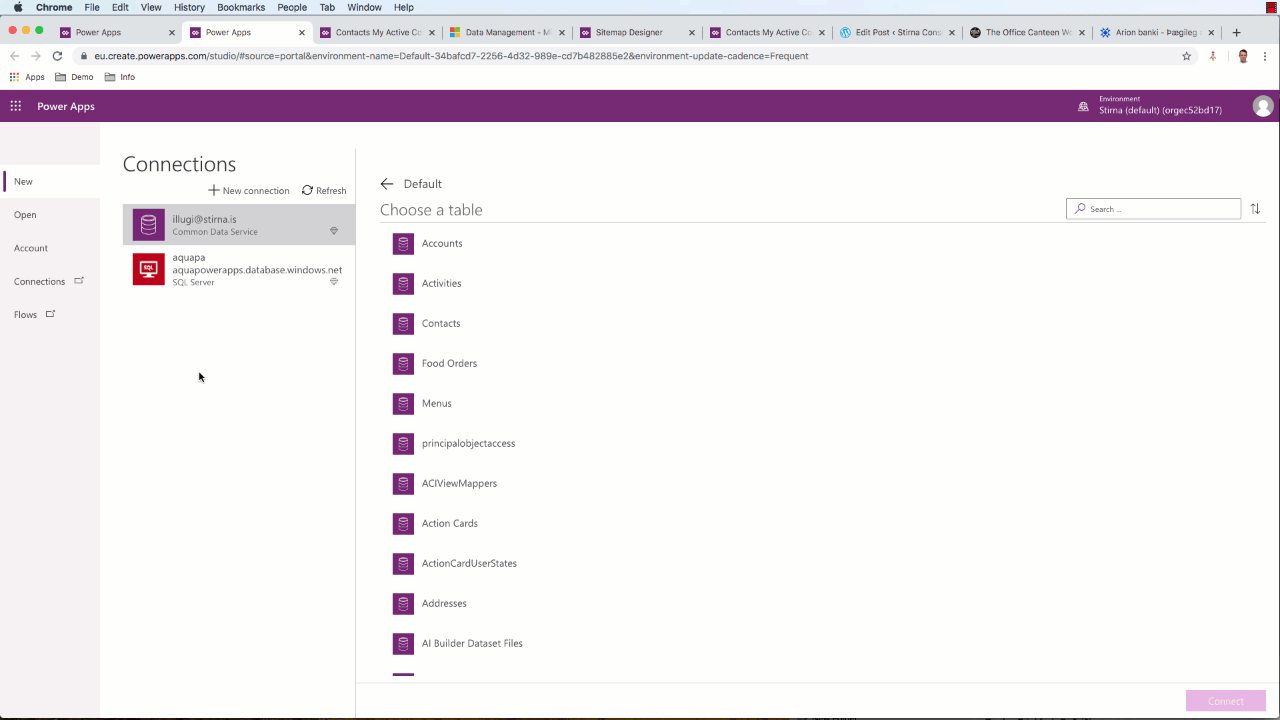
- We will be creating an app based on data in Common Data Service (CDS), so we will choose to create an app in our environment using CDS.
- Under Common Data Service, choose Phone layout.
- A list of connections are presented. Under the Common Data Service connection, choose an entity. If you don’t have the connection you’ll have to create one. In this case, I have created a customer entity called Food Orders.
- Give your project a name by navigating to File → Settings and changing the name field. By default it is named App. I’ve named mine CanteenApp.
- Navigate to Save and click Save in the bottom right corner
2. Customize the app
After you have created your app, you can start customizing the views and forms of your app. Similar to Dynamics 365, you edit the forms, e.g. rearrange fields and add/remove fields.
First, I’ll start with the list view as I want to control how this screen appears to the user. I want the view to be called Order Food instead of Food Order because we want the user to perform an action in the system, i.e. order some food from the canteen. To do this you:
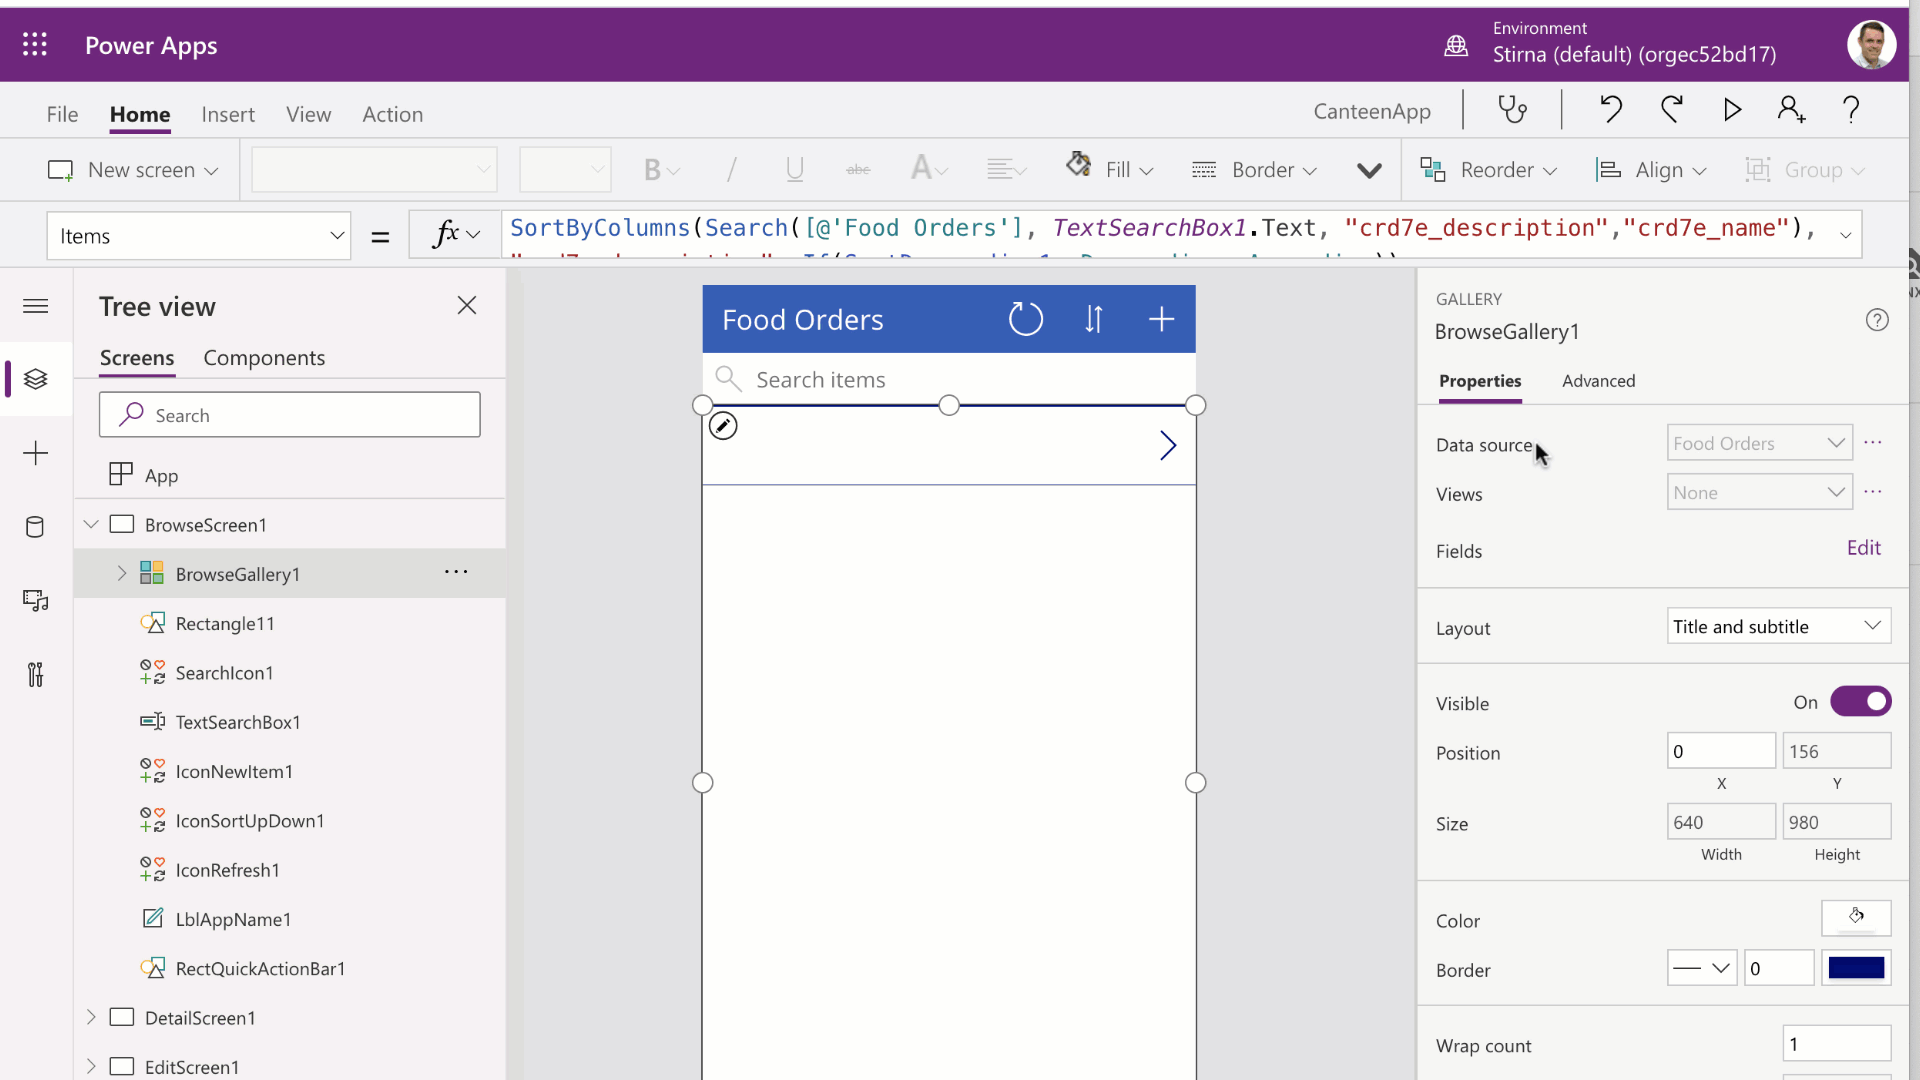
- Have BrowseGallery1 selected on the left navigation.
- Click on the name. It is by default named after the table/entity. I’ve named my app ‘Order Food’.
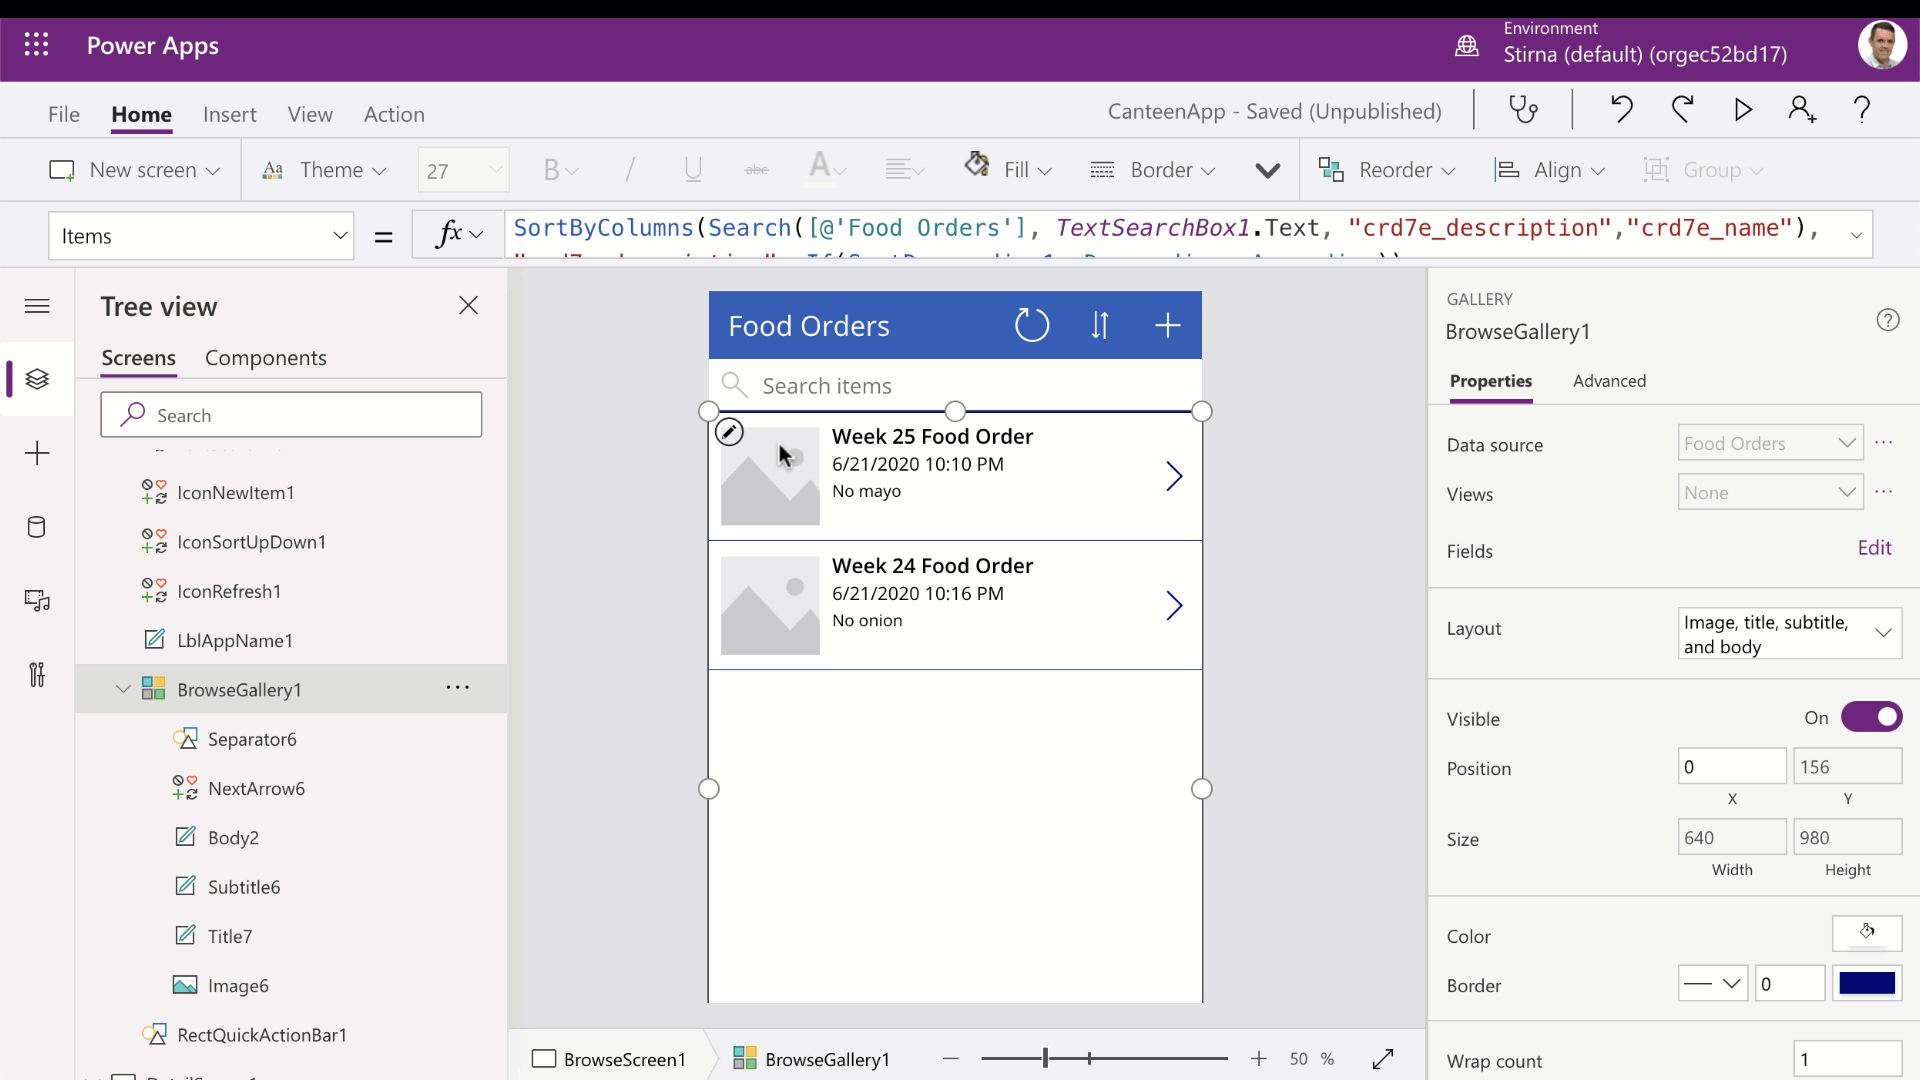
- Next, navigate to BrowseGallery1 → Layout and select the layout you like. In this case I have chosen a layout with an image.
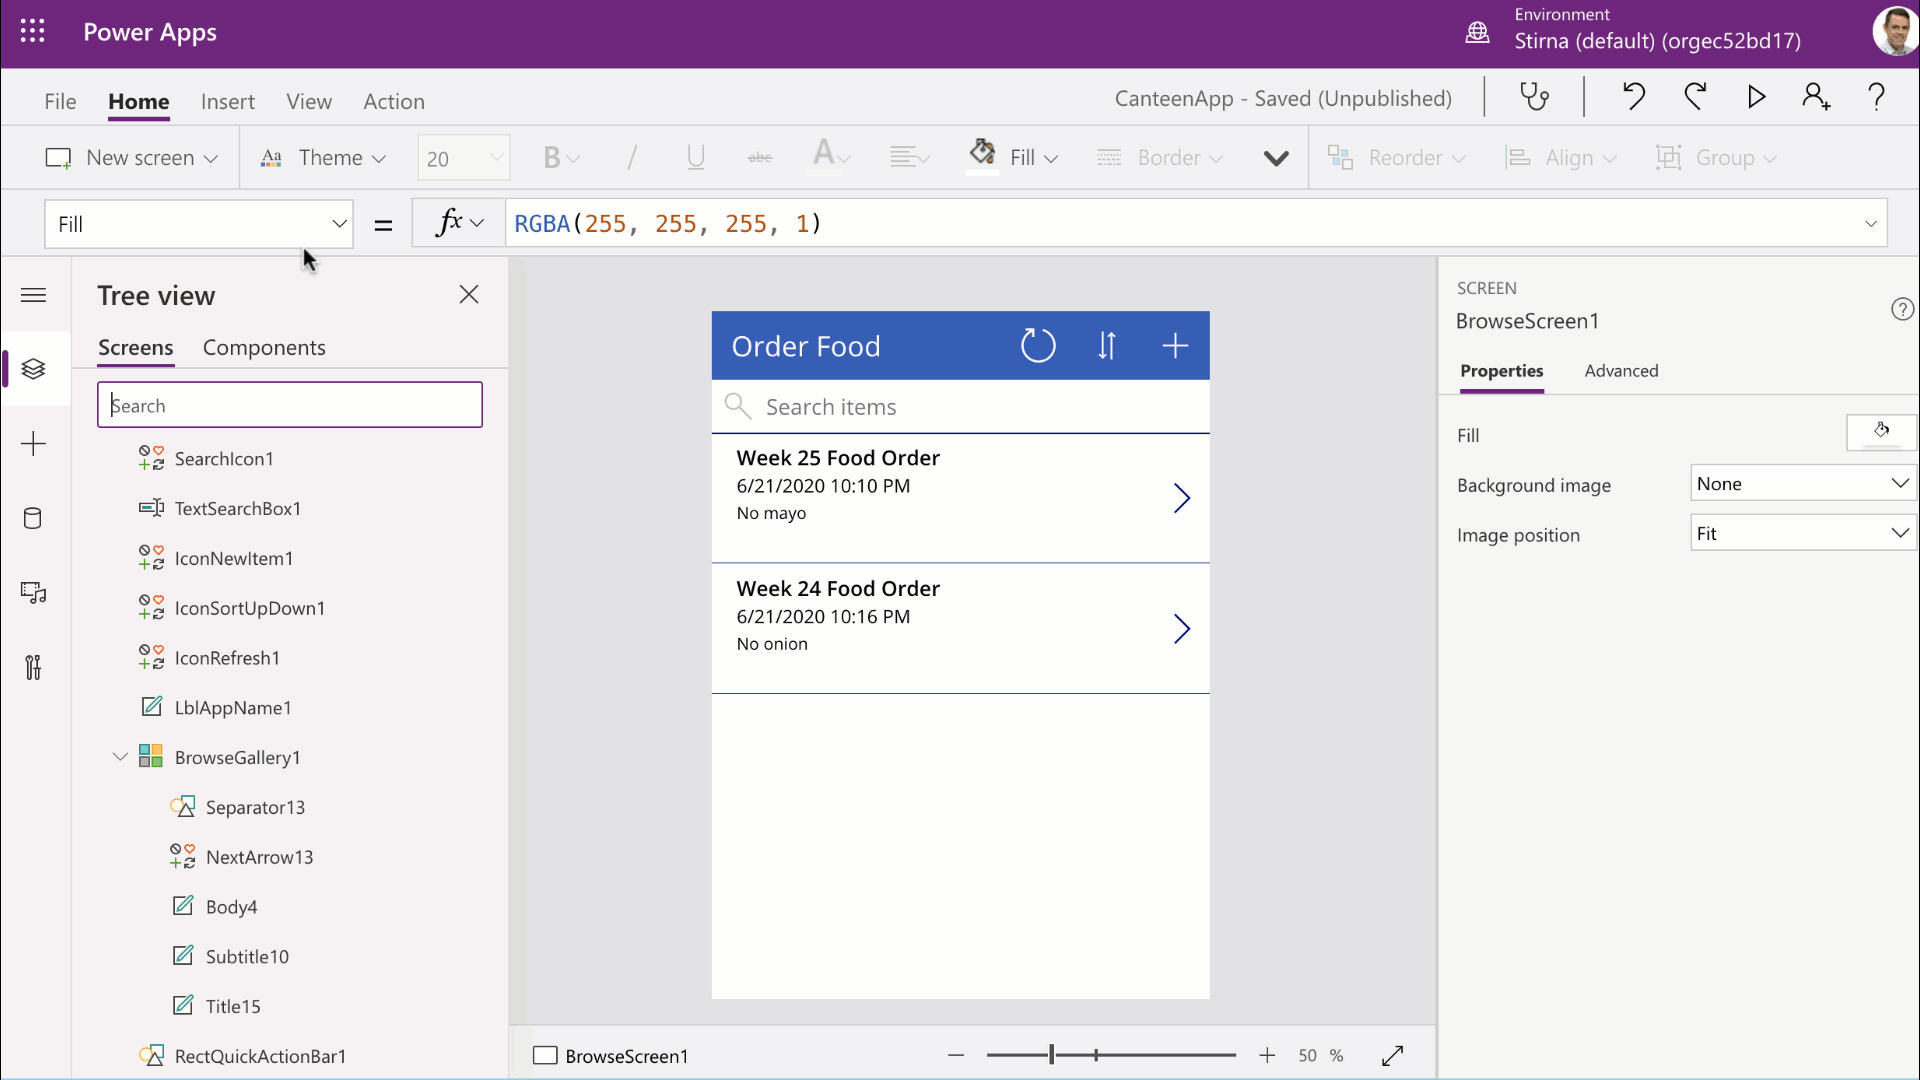
- After you have given your app a title and chosen the layout, you’ll want to save our app. Repeat step 1.7 to do this. In the next step you will change the details and edit views of your app.
- In the Tree View menu navigate to → DetailForm1. You can do this by scrolling with your mouse or typing into the Search window.
- Under Properties navigate to → Fields and click on Edit Fields.
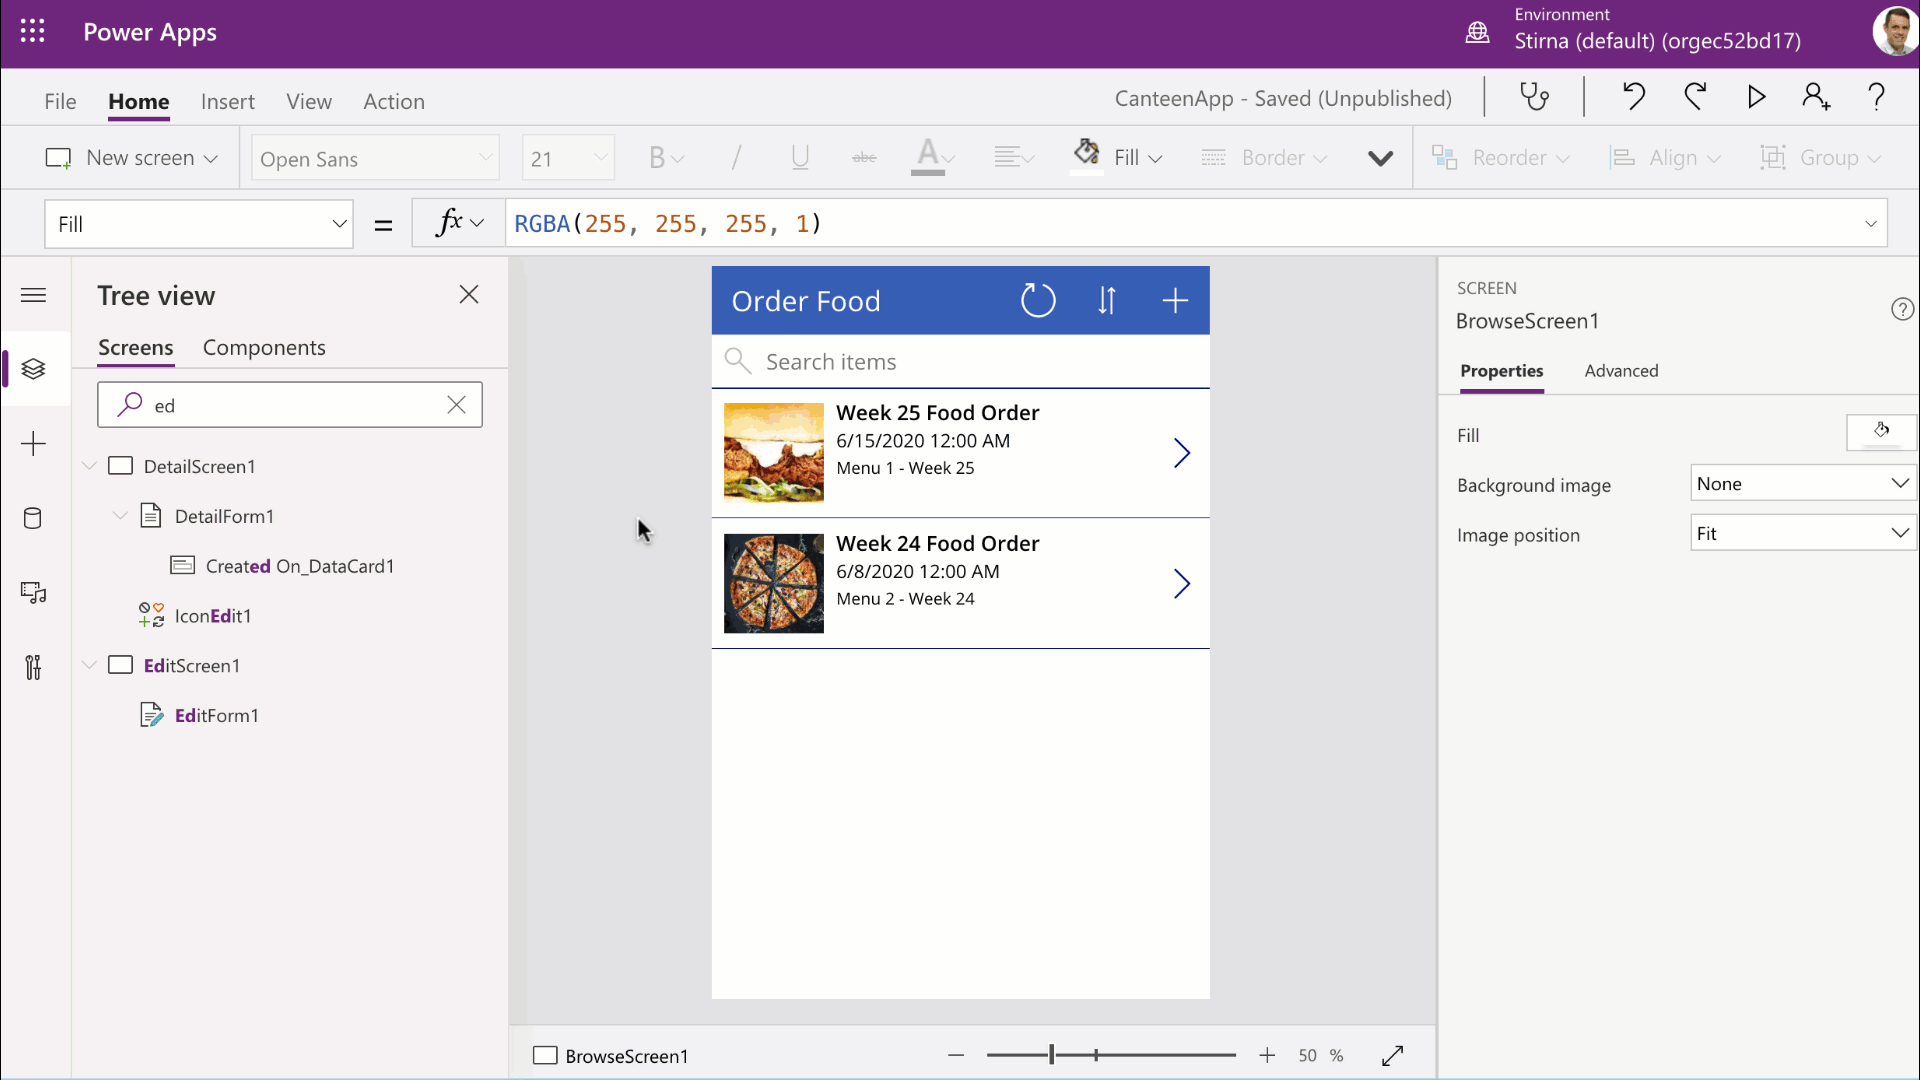
- Add the fields that you would like to see on the details view. This is the view the user sees when he clicks or taps on the Food Order item.
- Find the EditForm1 and Redo steps 2.5-2.7. Usually you want to display the same fields on an edit form as you do on a details form. This is expected behavior for a user. In the video at the end of this blog post, you can see how the app looks from the user’s perspective.
3. Publish the app
I assume that if you are like me, you want to polish the app to make it look a bit nicer. That’s fine. Once you are happy with how it looks (or perhaps you wan’t a colleague to test it for you), you can go ahead and publish the app.
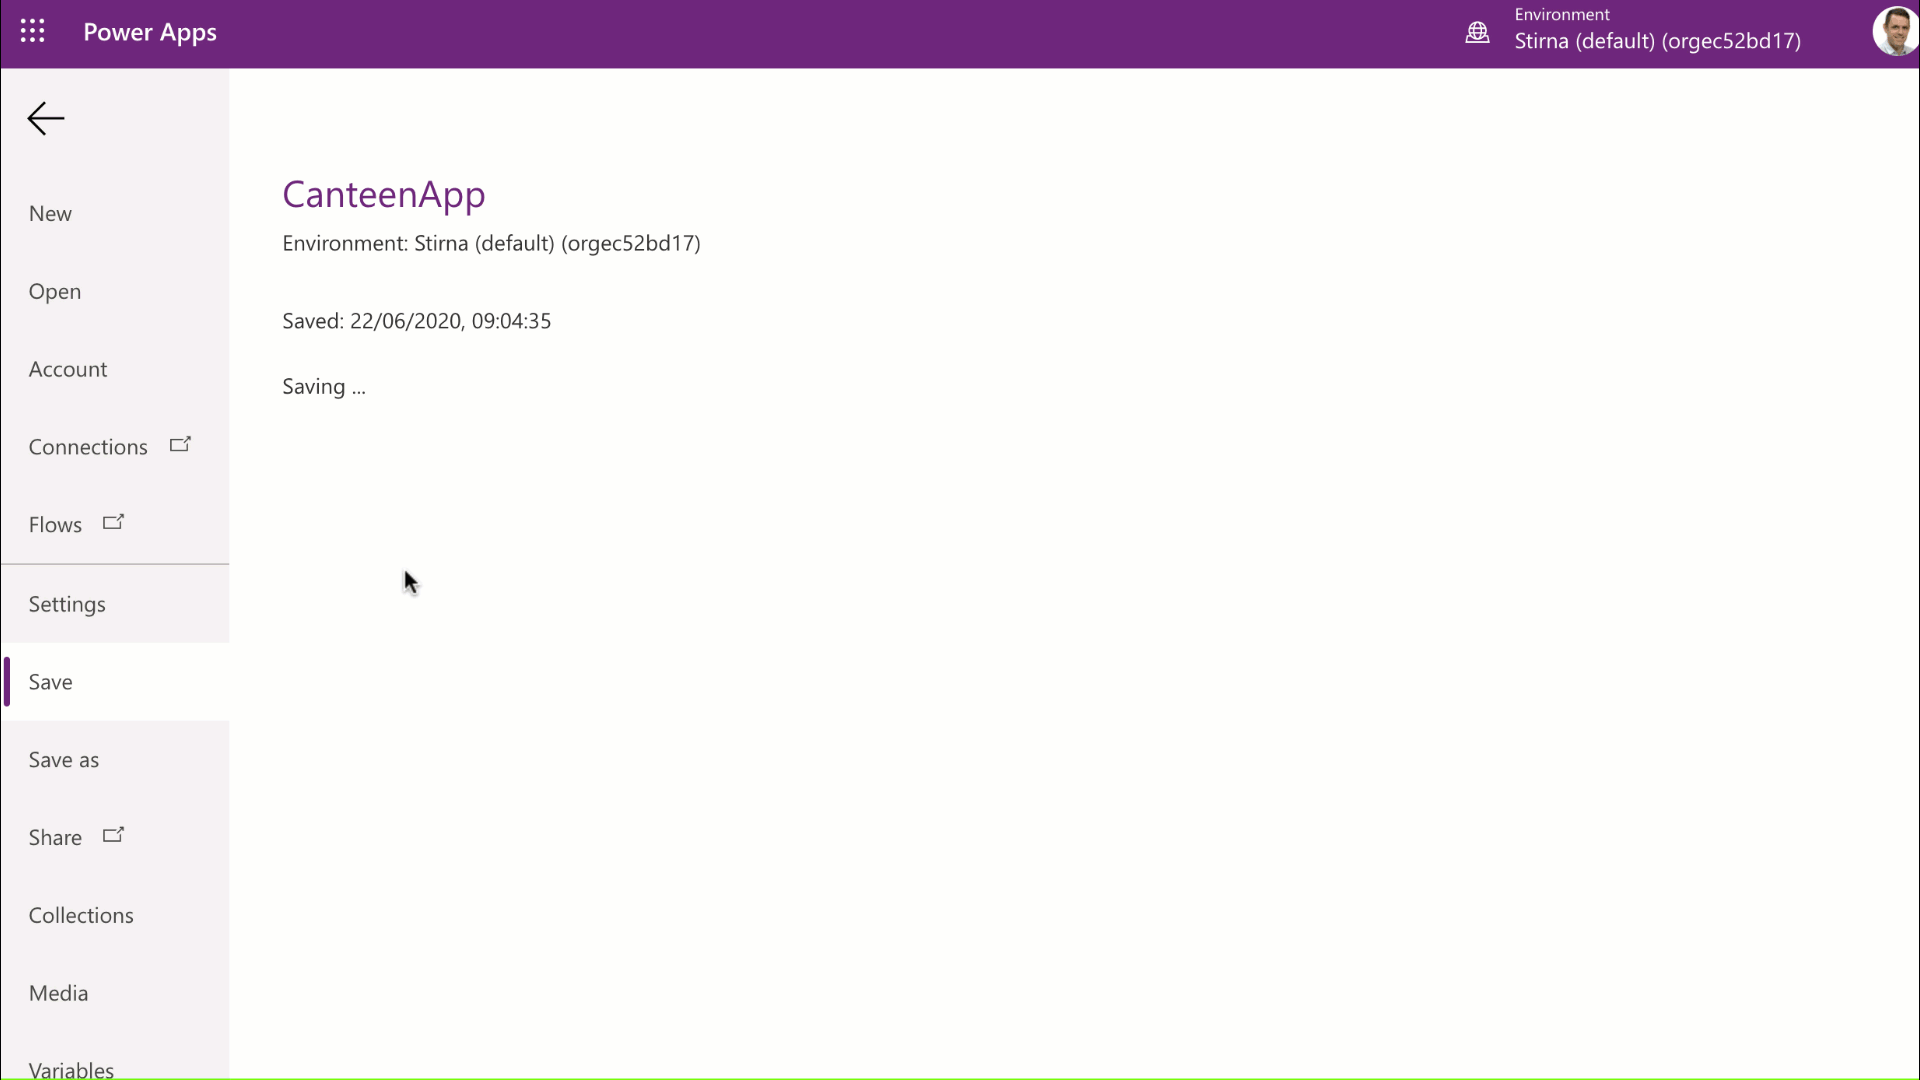
- Navigate to File → Save to save your app.
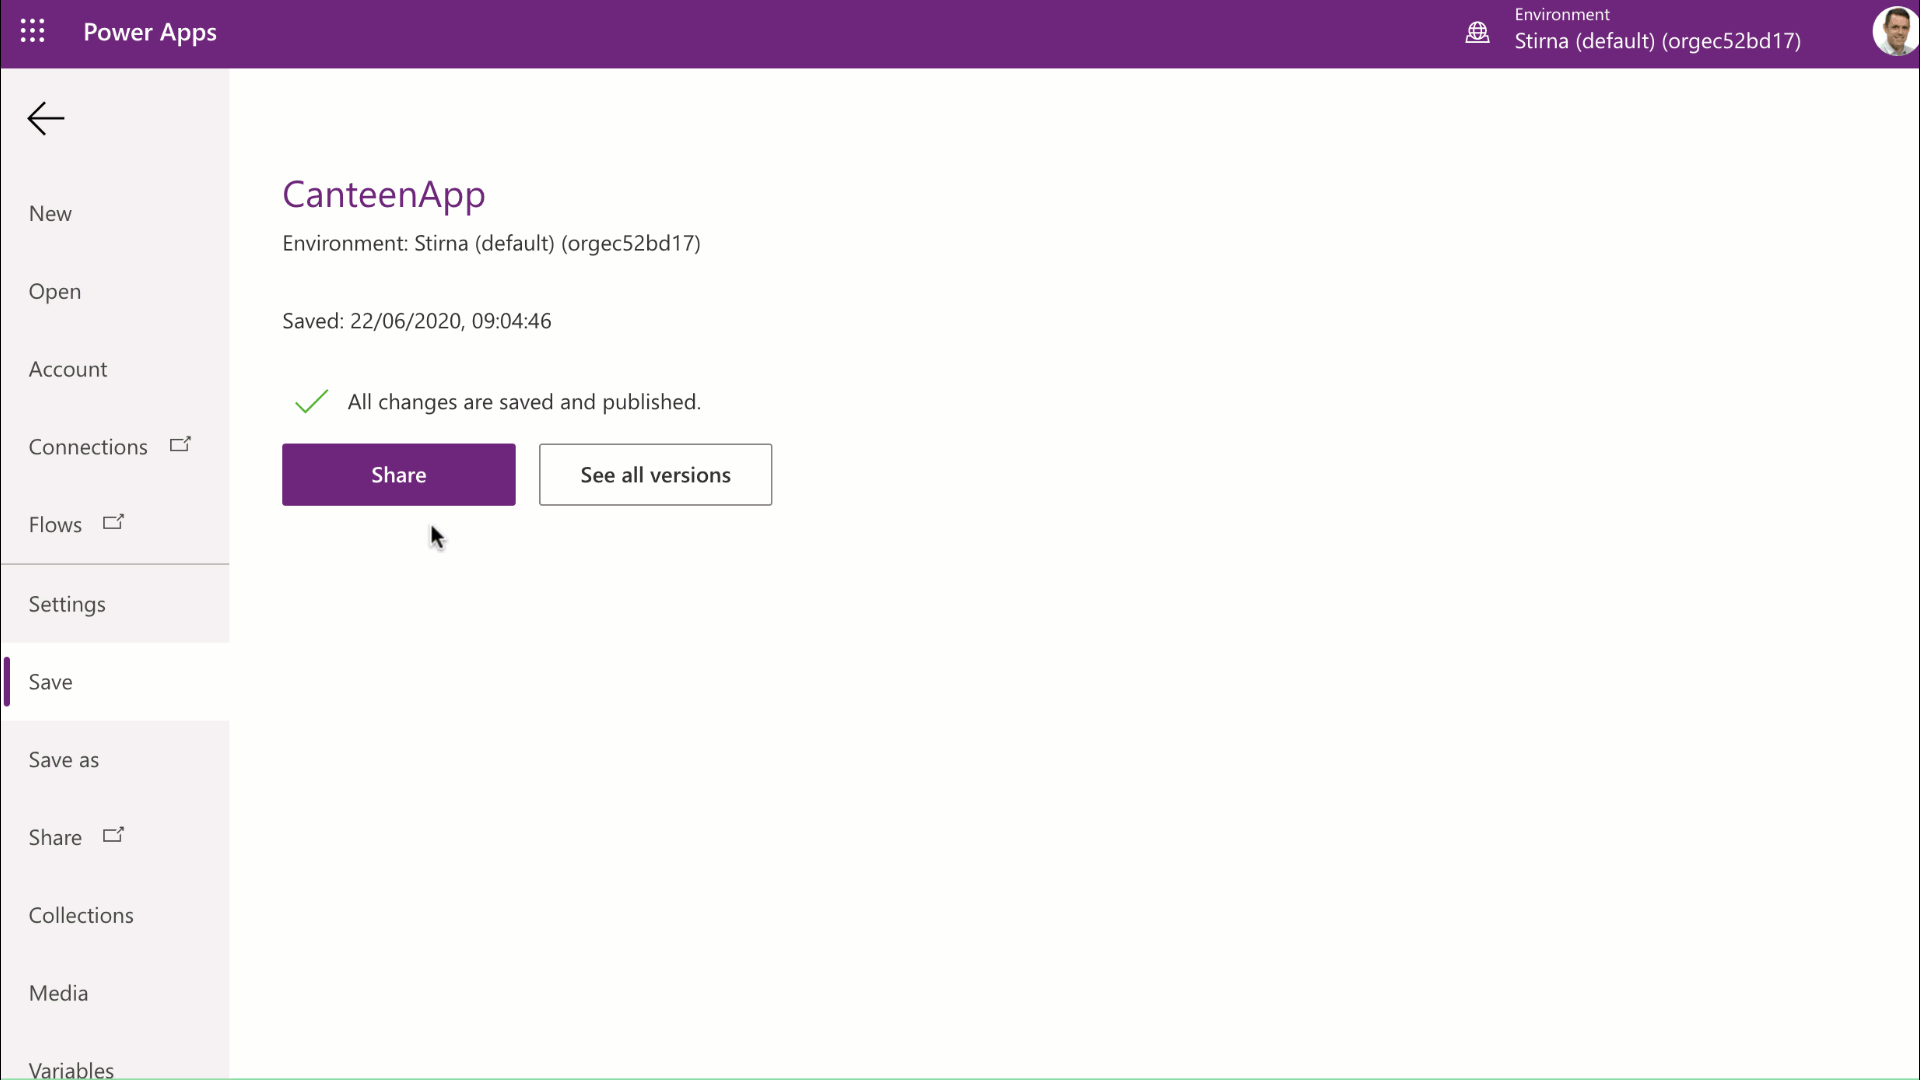
- As soon as you have saved the app you’ll see that a Publish button appears. Click on Publish. This will open a pop up window where you can add some information, publish the app or edit details.
- Choose Publish this version.That’s it. Your app has been published.
4. Share the app
The final step of the process is to share the app to get people to use it. If it is your first app, you will probably receive feedback for improvements. Don’t take it personally. Feedback is good when it comes to software because this way we can improve our product. Let’s go a head and share it with a colleague.
- Assuming that you are proceeding from Section 3 where you have saved and published the app. A screen appears where you have published the app offering you to share the app. You will see an option to share the app or see all versions of the app.
- Click on share.
- Type in the name or email address of the person who will receive the app. This contact has to have a license for Power Apps to be able to use the app.
- Select the user by clicking on the record.
- Assign a security role and click Share. Congratulations, you have now created, customized and shared a mobile app.
Please note that Jon (or whoever you share the app with) will require a security role and the appropriate permissions to be able to use the app for more information see Microsoft docs.
If you like this tutorial please subscribe to my Youtube channel and blog. Also, if you wan’t to create this app I created (see video below) feel free to contact me on the website and I’ll send you the solution file and share with you the template for the app.
If you want to study Power Apps there are plenty of resources online. I’ll leave a few links at the end of the post.
Leave a Reply