
Task: Create a lead in Microsoft Dynamics 365 Sales from a web form submission
Difficulty: Easy
Total time to implement: 1-2 hours
Content
- Creating the form (read post)
- Embedding the form on a webpage
- Publishing the form
- Embedding on your site
- Connecting the form with Dynamics 365 (read post)
In the current post we’ll publish the form we created in the previous post and embed it on a webpage.
Publishing the form
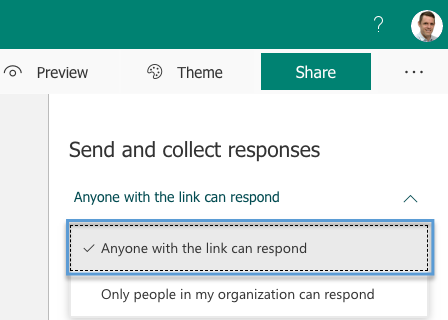
As we want to get responses outside our own company, we need to make the form public. By default (if you are signed in as an business user) you will have the sharing option set to ‘Only people in my organization can respond’. To publish we:
- Click on the Share button
- Click the arrow next to the ‘Only people in my organization can respond’
- Select the option ‘Anyone with the link can respond’
Embedding on your site
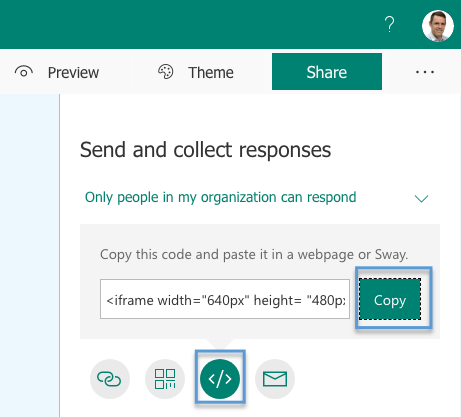
In this example we’ll grab the embed code and place it on a web page. It’s not a perfect solution but it’s the only way offered to embed these forms. To get the iFrame code we:
- Click on the Share button
- Click on the Embed button
- Copy the embed code
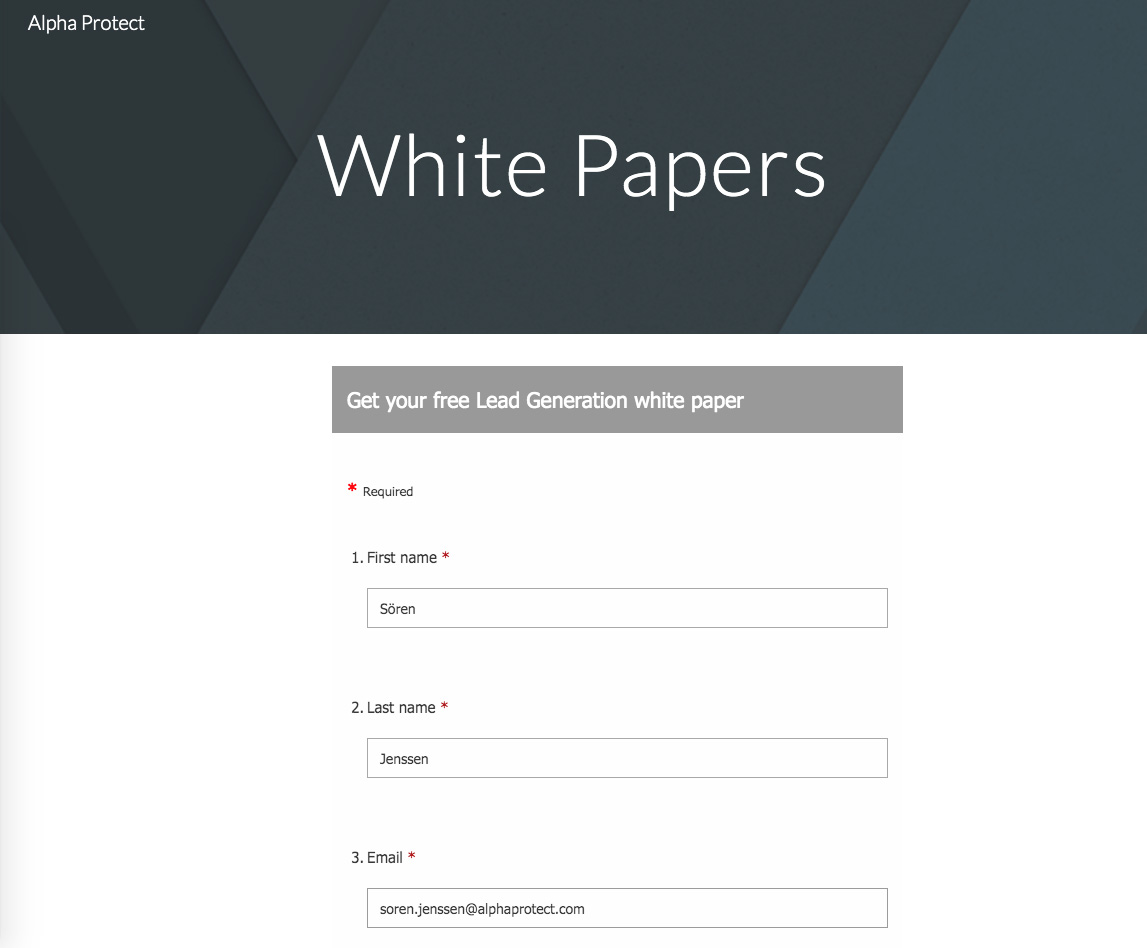
Now, we’ll place the code on a webpage, e.g. a landing page, on your site. This is done by pasting the iFrame into your HTML editor. Hit publish and there you go. You have your nice form published on your site.
You can also watch how this is done by checking out the video below:
In the last post in this three-part blog series, we will connect the form with Dynamics 365 Sales so you can start receiving leads directly to your CRM system.
Leave a Reply